Controller Mapping for Retro Emulators on iOS and Android
Physical controllers transform retro emulation on phones better than any graphics tweak ever could.
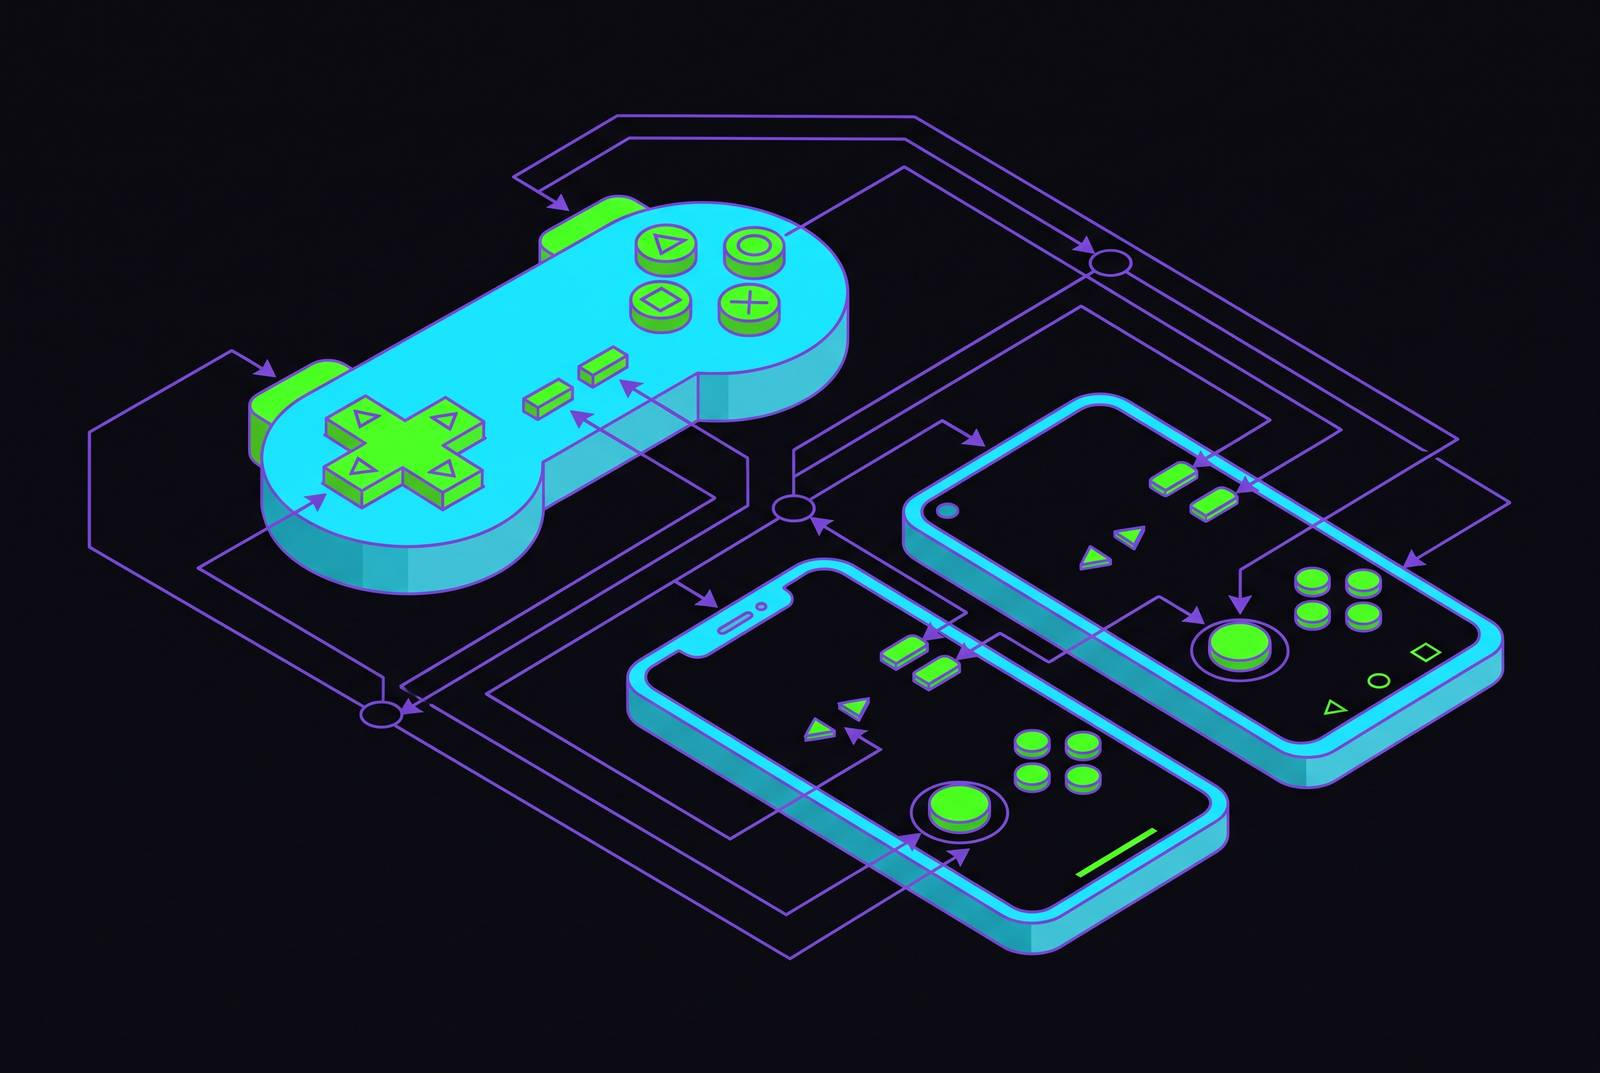
A phone running a mapped physical controller plays differently than one running a touch overlay, and the gap between the two is the single biggest quality jump available to anyone doing retro emulation on a phone. Touch overlays are convenient in the way that eating cereal over the sink is convenient: technically functional, structurally compromised. They sit on top of the game's artwork, obscuring the exact sprite work someone is trying to revisit, and they give back nothing physically when a thumb lands on them. No click, no resistance, no edge to find without looking. If a game asks you to hold a diagonal on the D-pad while pressing a shoulder button at the same time, the overlay turns into an obstacle course played against your own fingers.
Chasing a sharper shader or a more cycle-accurate core is a reasonable hobby, but it is not where the return on effort lives. The upgrade from touch controls to a properly mapped physical controller outperforms every graphics filter and every emulator-accuracy rabbit hole combined, because it changes the category of the experience. A platformer with tight jump timing, a fighting game with charge inputs, a 3D adventure with camera and movement sharing the same two hands: none of these were designed with a pane of glass in mind, and no amount of visual fidelity compensates for a control scheme the original designers never imagined.
The good news is that mapping a controller is not some arcane ritual reserved for people who enjoy reading settings menus for fun. It follows a short, repeatable sequence on both iOS and Android, and once it is understood, it applies to every emulator and every system a phone is likely to run. This guide walks through that sequence platform by platform, hardware consideration by hardware consideration, so the process only has to be learned once.
How iOS and Android handle controller input differently at the platform level
Android and iOS solve the same problem, recognizing a gamepad and routing its signals to a game, in structurally different ways, and that difference shapes every step a reader takes afterward. Knowing which platform you're working with before opening an emulator prevents a set of wrong expectations from forming in the first ten minutes.
Android handles this at the system level. Most standard Bluetooth controllers pair and get recognized as gamepads with no special drivers needed, because the operating system does that recognition work before an emulator ever sees the input. By the time RetroArch or a standalone emulator opens, Android has already decided the device plugged in or paired up is a controller, and the emulator's only remaining job is to decide what each button does.
iOS instead goes through a system framework built into most major emulators, and this framework supports certified gamepads as well as major non-certified pads from the Xbox and PlayStation ecosystems. You pair a controller through the standard iOS Bluetooth settings menu, no different from pairing headphones. Inside Delta, button mappings auto-populate per system, so you need no extra configuration, and this is the iOS platform doing what Android leaves to RetroArch's setup menu. RetroArch on iOS, by contrast, typically asks for additional input and hotkey configuration, closer to the Android experience than to Delta's.
That split has a history. Before a policy shift opened the door to console emulators on the App Store, iOS was by design the harder platform for retro emulation, while Android had long been the more permissive environment. Android still beats it for higher-end systems today, and the hardware section comes back to this when it matches controllers to specific console generations.
Pairing a controller on Android and mapping it in RetroArch
On Android, the operating system has to recognize the controller before any emulator can use it, so pairing through Android's Bluetooth settings is the prerequisite step, not an optional one. Once that pairing is done and RetroArch is mapped a single time, that mapping applies across every system the app emulates, from NES to PS1 to Genesis, without repeating the process per console.
The walkthrough:
- Pair the controller through Android's Bluetooth settings before opening RetroArch or any other emulator.
- Open RetroArch and go to Settings → Input → RetroPad Binds → Port 1 Controls → Set All Controls.
- RetroArch prompts for each input in sequence: face buttons, D-pad directions, shoulder buttons, Start, and Select.
- Save the configuration. The controller then behaves identically across every RetroArch core, a unified layout for every game.
The most common way this setup goes sideways has nothing to do with the mapping itself. A mapping gets built correctly, works for a session, and then vanishes the next time RetroArch opens, because the user changed bindings but never saved them in the place that matters. The fix is to use Save Core Remap File or Save Game Remap File from the quick menu. Save Configuration on Exit governs the main config file, not remap files, so toggling that setting does nothing to protect a remap. It's an easy distinction to miss and an easy one to fix once it's named.
Standalone emulators outside RetroArch, AetherSX2 for PS2 or Dolphin for GameCube and Wii, follow the identical logic even though each has its own input settings screen. Pair at the OS level first, then assign buttons inside the app. The screens look different; the sequence does not change.
Mapping a controller on iOS inside Delta and RetroArch
Compared to the Android walkthrough above, the iOS version of this process can feel almost anticlimactic. Delta's controller settings let you remap any certified gamepad on a per-system basis, and this matters most in extended play sessions, when an on-screen control scheme is merely awkward at first but turns into a hand cramp on an iPhone's small screen.
The simplicity isn't an accident; it's the Game Controller framework doing the recognition and default-mapping work before the user ever opens a settings menu. Delta has picked up millions of downloads since it launched on the App Store in April 2024, and communities such as r/Delta_Emulator keep a running log of compatibility reports and controller setup notes if you hit an edge case.
RetroArch on iOS follows the same Settings → Input path that Android users already know, so you can use it to fine-tune a mapping past the defaults Delta provides automatically. Most users will never need to open that menu at all, which says less about RetroArch's complexity and more about how much of the setup burden the platform's framework has already absorbed. A reader might wonder why a PS2 emulator isn't sitting in the App Store next to Delta: a compiler-level technical constraint shapes what kinds of emulators can run natively on iOS, a factual limit on the platform.
Why the D-pad matters more than any other hardware variable for retro mapping
Every mapping step covered so far assumes the hardware underneath is capable of registering clean input in the first place, and for most of the retro library, that assumption rides entirely on one component. Everything built before analog sticks existed routes its entire directional vocabulary through the D-pad, which makes D-pad quality the single feature that decides whether a platformer, fighter, or shoot-em-up feels playable or feels like fighting the controller as much as the game, regardless of how precisely the buttons were mapped in the previous two sections.
Not necessarily. A pad that reviewers praise for contemporary titles can carry a D-pad that was clearly an afterthought in the design process, because modern games route most of their directional input through analog sticks and leave the D-pad for menu navigation. If the D-pad is mushy or oversensitive, you get missed jumps and dropped combos even when the software mapping underneath it is flawless. If the plastic cross can't register a clean diagonal, no software fix will change that.
The mechanical detail that separates a good D-pad from a forgettable one is the floating design, the kind that pivots on a center post rather than four independent switches crammed under a plastic cap. A floating D-pad lets your thumb roll across directions instead of mashing one switch after another, and you need that roll if you want clean diagonals and consistent cardinal input in 2D games. A fighting game reading a quarter-circle motion is, in effect, asking the D-pad to behave like a tiny analog sensor built from four digital switches. If a pad can't roll cleanly, it turns that motion into a stutter-step the game never intended.
Matching hardware to library era follows directly from that logic:
- For 8-bit and 16-bit systems (NES, SNES, Game Boy, Genesis), a great D-pad is close to the entire criterion. An SNES-style or Sega-style layout is the natural fit here.
- For 3D-era systems (N64, PS1, Dreamcast, PS2, GameCube), analog sticks and triggers become just as important as the D-pad, so an all-rounder covering both is the practical choice.
- For Sega, NeoGeo, and Capcom arcade libraries, a six-button face layout matches how those games were actually designed, rather than forcing a four-button SNES-style layout to cover six-button inputs.
Two hardware categories cover mobile retro emulation, each solving a different problem. Clip-on grips plug directly into the phone and turn it into something closer to a dedicated handheld. Standalone Bluetooth pads pair wirelessly and work with the phone propped on a stand, so they suit a desk setup or a TV-adjacent session better. Among standalone pads, the 8BitDo M30 carries a six-button arc layout built around Sega Genesis and Mega Drive game design, so it's the natural pick if you want fighting game and Genesis libraries specifically. The 8BitDo Ultimate 2C Wireless sits a tier up as a value-oriented all-rounder, built around Hall Effect joysticks and triggers, a 1000 Hz polling rate, and remappable bumpers.
On the clip-on side, a controller that connects by plugging in rather than pairing over Bluetooth sidesteps the entire pairing conversation from the two sections above. Because the connection is physical rather than wireless, it works with every emulator this guide covers, Delta, RetroArch, PPSSPP, without any additional input configuration beyond what's already been described. The wired connection carries a second practical benefit: the controller draws no separate battery of its own, and in some cases it can pass power to the phone during a long session.
Latency, Run-Ahead, and the practical gap between wired and Bluetooth in retro play
Mapping and hardware can both be correct and a setup can still feel slightly wrong, and the variable responsible is input latency. In timing-critical genres, platformers that measure jump windows in single frames, fighting games that measure input buffers the same way, you notice even a small delay between a button press and the game registering it before you can explain why it feels off. Wired controllers cut that latency noticeably below what pure touch input delivers, a gap that becomes perceptible specifically in fast-paced platformers where frame-precise timing is part of the design.
If you stay on Bluetooth, RetroArch's Run-Ahead feature exists to close that gap. Classic console hardware carries its own built-in internal input lag, baked into the original system design decades before anyone was emulating it on a phone, and Run-Ahead works by running the emulation slightly ahead internally to offset that delay. The practical effect is a Bluetooth pad that feels more responsive in exactly the games that reward precise timing, without requiring new hardware.
For readers who want to stay wireless rather than switch to a wired setup, prioritizing controllers with Bluetooth 5.3 or newer, or ones offering a 2.4 GHz dongle mode, narrows the latency gap further. The dongle mode on pads like the 8BitDo Ultimate 2.4G runs measurably lower latency than a standard Bluetooth connection. Run-Ahead increases CPU load, which can cause frame drops on lower-end devices, so the sensible approach is to test it on a familiar game and turn it off if performance suffers.
Hotkey mapping and per-game profiles, the quality-of-life layer most guides skip
A mapping can be built correctly, saved correctly, and still disappear by the next session, or it can work for every game except the one fighter whose button order doesn't match the SNES default everything else was built around. Those are the two specific failure points this section exists to close.
Hotkeys solve the first category of annoyance, the one where every save state or fast-forward requires backing out to a touch menu mid-game. In RetroArch, hotkeys get assigned in Settings → Input → Hotkeys, and the common pattern is a shoulder button combo for save state, a different combo for load state, and a single face button for fast-forward. The one rule that matters here: those combinations should never overlap with inputs the games themselves use, or a reader will discover mid-boss-fight that saving state also happens to be the special move input.
The second category is a single game that needs its own button layout, and RetroArch's Save Game Remap File handles that for you. It stores a layout for one specific game without touching the core-wide defaults built in the Android walkthrough earlier, so it matters if you have, say, a six-button fighter whose face button order doesn't match the four-button SNES layout the rest of the library assumes. Delta handles a version of this automatically on iOS: controller mappings are stored per system, so a single controller can feel different for NES than it does for N64 without the user manually switching profiles between the two.
The same discipline raised in the Android section applies here: always save through Save Core Remap File or Save Game Remap File in RetroArch's quick menu, and confirm Save Configuration on Exit is enabled. Skipping that step is the specific reason a mapping that worked perfectly on Tuesday is gone on Wednesday, and it's the kind of detail that turns a promising setup into a recurring chore until someone names it clearly enough to stop happening.