RetroArch Setup on Android for Mobile Controller Users
Configure your controller once in RetroArch and it works across every emulated system.
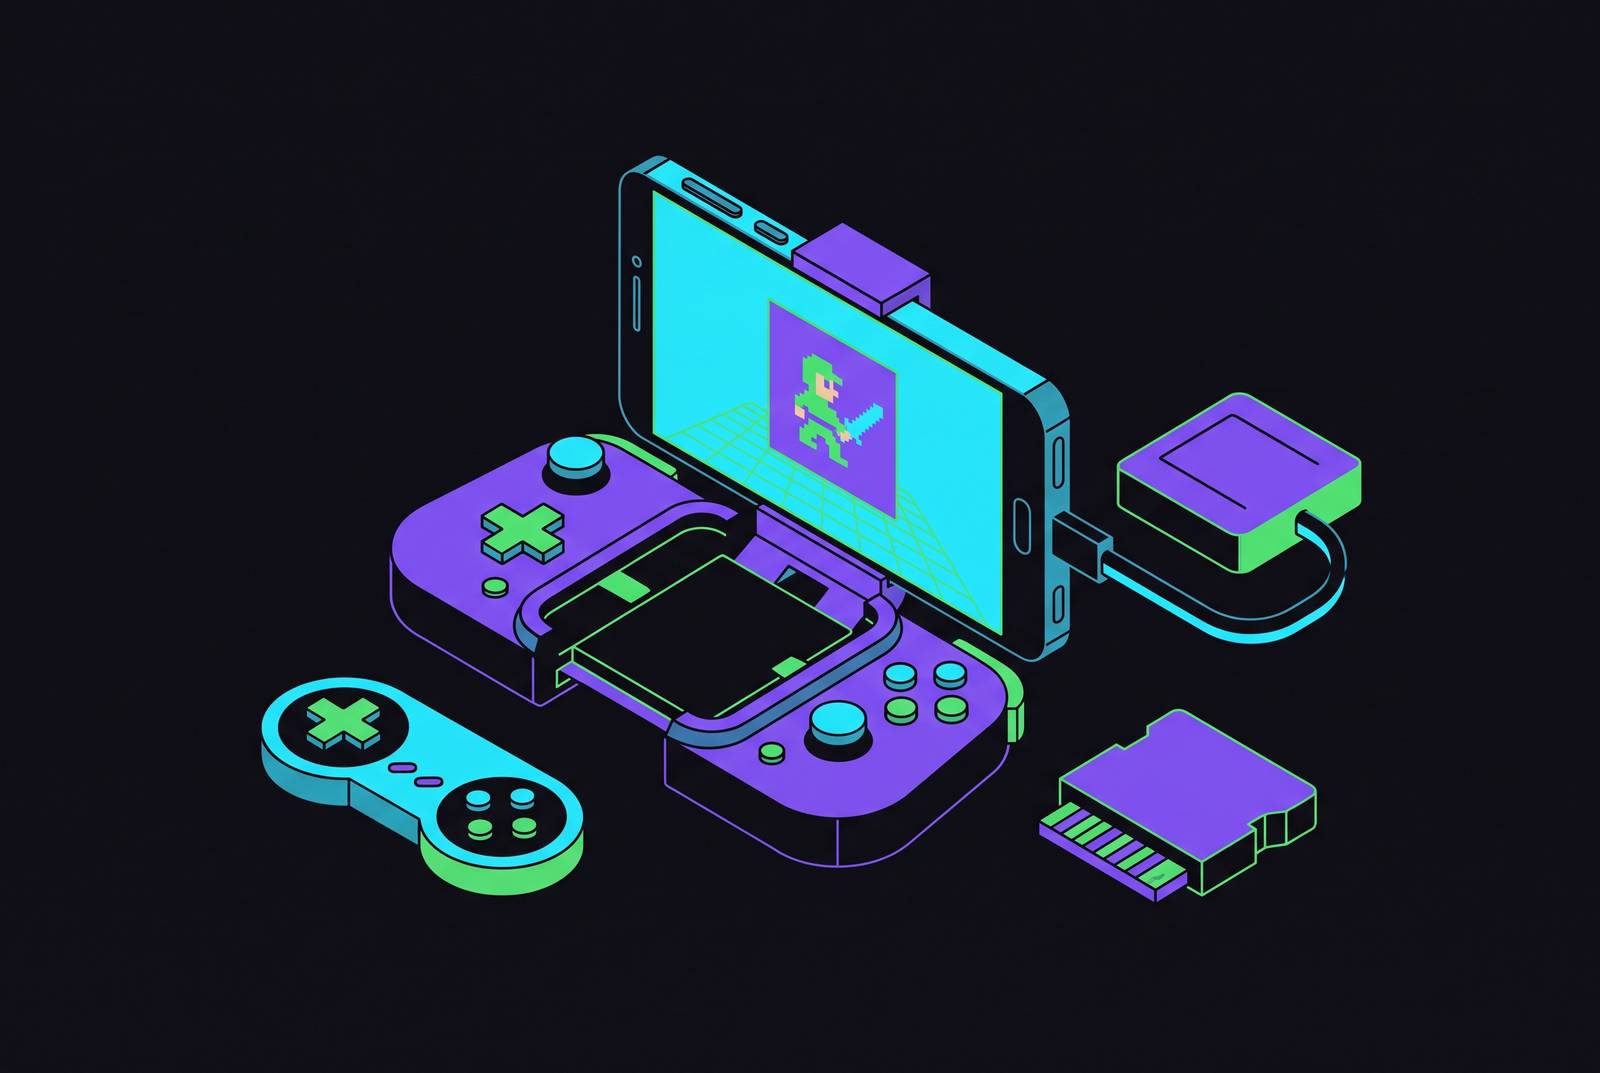
RetroArch on Android is not a convenience app, it's a full emulation frontend that happens to run on a phone, and the difference matters the moment a controller enters the picture. Get the setup right and the reward is a system where a controller pairs once, every button lands where a game expects it, and hotkeys handle save states and fast-forward without a single tap on glass.
Touchscreen controls are a compromise on every system RetroArch emulates, but a physical controller eliminates that compromise entirely, and because RetroArch uses a single mapping layer, one well-configured controller works across every core at once. That's the whole thesis of this guide: set the controller layer up once, correctly, and stop thinking about it.
This walkthrough uses version 1.22.2 as its baseline, the stable release that shipped November 17, 2025 and remained the listed stable build as of an August 24, 2026 check of RetroArch's own download page. This matches Wikipedia's own listing of the RetroArch release history, which shows no version superseding 1.22.2 as of that check. It's recent enough to include the LRPS2 PlayStation 2 core, which matters later when the core list comes up.
Why RetroArch works differently from standalone emulators
The conceptual hinge the rest of this guide swings on is that RetroArch functions as a frontend, not an emulator. It's a frontend, a shell that loads emulators as plug-ins called cores, each one a small shared library RetroArch pulls in on demand. A libretro core is a dynamically loadable library, a.so file on Android, that implements a specific C interface called the libretro API, and RetroArch is the reference implementation that the cores are built against. Want the NES? That's a core. Want the PlayStation? Also a core. RetroArch itself just provides the menu, the video output, the audio pipeline, and, critically for this guide, the input layer that every core shares.
That shared input layer is why a controller mapping done once actually sticks. Changing a button assignment or a hotkey inside RetroArch's settings means every core loaded afterward inherits it, because the mapping doesn't belong to the core, it belongs to the frontend sitting above all of them. Standalone emulators don't work this way. Each one ships its own settings menu, its own input scheme, its own quirks to relearn. RetroArch trades that fragmentation for a single point of configuration. The controller setup covered later pays off across an entire library instead of needing to be repeated system by system.
RetroArch itself is free, open-source software released under the GPLv3 license and maintained by Team Libretro, so installing and running the frontend carries no legal concern. What lands inside it, the games and firmware, is a separate question, and one this guide addresses directly once the BIOS section comes up.
Installing RetroArch on Android: APK over Play Store
Skip the Play Store for this one. The Play Store build of RetroArch is capped at roughly 50 cores and is flagged as outdated on RetroArch's own site, while the official APK, distributed under the name RetroArch Plus and requiring Android 8.0 or newer, unlocks the full catalog, up to 127 cores. The official Google Play listing for RetroArch Plus itself confirms the cap, stating it supports over double the cores, 127, compared to the regular version's 50. That's a substantial gap. It's the difference between having the PS2 core available on day one and not having it at all.
Installing an APK requires enabling installation from unknown sources on the Android device, a one-time setting change that should be done only for a file downloaded directly from retroarch.com and not from any third-party mirror. Turn it on only for the file downloaded directly from retroarch.com, and turn it back off afterward if that feels tidier. Third-party mirrors are exactly the kind of shortcut that undoes the safety this whole guide is trying to build in.
First launch will prompt for storage access. Grant it, and pay attention to which folder gets selected, because ROMs, BIOS files, and save states all need to live somewhere RetroArch has permission to read. Android's scoped storage rules mean a permission skipped here doesn't announce itself immediately, it just resurfaces later as a core that mysteriously won't load a game, which looks exactly like a broken installation but isn't.
Recommended cores for each major system
Opening RetroArch's core downloader for the first time reveals a list that runs long enough to be genuinely paralyzing. Cores live under Main Menu → Load Core → Download a Core, and that in-app path is the only place they should come from, since outside sources carry both malware risk and version mismatches that can silently break saves later.
For a controller-focused setup working through the classic library, a short list covers most of what a first session needs. Game Boy and Game Boy Color run well on Gambatte. Game Boy Advance is mGBA's territory. For the NES, Nestopia is the pick MakeTechEasier lands on, though Retro Dando prefers Mesen for accuracy, and either is a reasonable starting point. SNES splits along hardware lines: bsnes for accuracy on capable phones, Snes9x when the device needs the lighter lift. That split mirrors broader consensus elsewhere too, with Snes9x recommended as the practical choice for handheld or older hardware while bsnes remains the top pick for desktop-class performance. Nintendo 64 has one clear answer in Mupen64Plus-Next.
Sega Saturn emulation splits between Yabause and Yabasanshiro, with Retro Dando's notes indicating Beetle Saturn is most accurate but running heavier, while Yabasanshiro performs better on lower-end hardware. PlayStation 1 has a similar fork: PCSX-ReARMed for lower-end phones, SwanStation when there's more headroom, with DuckStation as the stronger standalone option outside RetroArch entirely for anyone chasing maximum fidelity.
The LRPS2 PlayStation 2 core is included in RetroArch 1.22.2.
Two systems intentionally sit outside this list. PSP and DS both have strong standalone emulator options that Retro Dando's guide recommends over their RetroArch cores, so they're out of scope here. Install what matches the actual ROM collection on hand, and add more later as the library grows.
BIOS files by system
This is where most first attempts at a RetroArch setup quietly fall apart. Some systems need firmware files RetroArch can't legally bundle, and without them the console simply won't boot, no matter how correctly the core was installed. The symptom looks identical to a broken core: a black screen, a crash back to the menu, or a cryptic error. It's a peripheral piece. It's a missing file.
Retro Dando's Android guide notes that a handful of systems need specific BIOS files placed correctly before anything will run. The Game Boy setup calls for gb_bios.bin, though it's technically optional. Game Boy Color wants gbc_bios.bin, also optional. Game Boy Advance wants gba_bios.bin, but mGBA ships a built-in high-level emulation replacement, so most games run fine without ever tracking one down. Sega Saturn needs both sega_101.bin and mpr-17933.bin.
Where do these go? Into the system folder inside RetroArch's working directory, though the exact path depends on where storage access got granted back at first launch, worth confirming under Settings → Directory → System/BIOS if anything's unclear.
The clean path here is dumping BIOS files from console hardware actually owned, not pulling them from an archive site. The research behind this guide indicates downloading BIOS files from ROM or archive sites counts as copyright infringement in most jurisdictions, and those same sites rank among the more malware-dense corners of the internet. For PlayStation 1, source scph5500.bin (JP), scph5501.bin (US), scph5502.bin (EU), or PSXONPSP660.bin (region-free).
Getting ROMs onto the device and building a playlist RetroArch can browse
Cores and BIOS files don't do much without something to run through them. ROMs need to be on the device first, and the transfer method barely matters: USB cable to a PC, an email attachment routed to the Downloads folder, or a cloud sync tool all work, so long as the files land somewhere RetroArch has read permission.
Only use ROM files dumped from cartridges and discs actually owned. Downloading ROMs of games not owned is copyright infringement, and ROM archive sites carry significant malware risk.
Once the files are in place, building a playlist is a short trip through Main Menu → Import Content → Scan Directory. Pointing it at the ROM folder and choosing Scan This Directory makes RetroArch sort everything by system into separate playlists visible under the Playlists tab. That's the correct path specifically in the APK build; the Play Store version buries the same function under a hamburger menu instead. For a faster first test, before committing to scanning an entire library, Main Menu → Load Content pulls up a single game directly, which is a quick way to confirm a core actually works.
Once a playlist exists, running Update Assets and the other Online Updater downloads, including thumbnails, is a small step that turns a folder of filenames into something that actually looks like a game library.
Connecting and confirming a physical controller before touching any mapping settings
Everything above builds toward resisting the urge to skip straight to mapping. A physical controller is what makes RetroArch feel like a console instead of a phone app pretending to be one, but that only holds true once RetroArch has actually detected the thing. Mapping buttons before the pad is recognized means the settings just won't stick to anything.
Order of operations: pair the controller through Android's own system Bluetooth settings first, then launch RetroArch afterward. RetroArch doesn't handle its own Bluetooth pairing, so pair the controller in Android's system Bluetooth settings first, then launch RetroArch, since the controller will be visible to the app once Android has recognized it at the OS level.
Once paired, confirmation lives at Settings → Input → Port 1 Controls. If the controller's name shows up there, RetroArch has recognized it, and it's likely already applied a default button map pulled from the controller profiles downloaded earlier in the Online Updater step. Most mainstream pads clear this bar without any manual work: the Scoby Tech 2026 guide notes that Xbox One, Xbox Series, PS3, PS4, and PS5 controllers are all recognized out of the box by RetroArch's autoconfiguration.
On Bluetooth latency, since it comes up almost every time this topic gets discussed: for the overwhelming majority of retro titles, the lag introduced by Bluetooth doesn't register.
Mapping controls in RetroArch: global profiles, per-core overrides, and saving both correctly
This is the section that actually delivers on the guide's premise. RetroArch's mapping system has two layers: a global input profile that every core uses by default, and per-core overrides that sit on top and only apply when that specific core is running.
Start with the global layer. Head to Settings → Input → Port 1 Controls and check that the controller shows up with buttons mapped to RetroArch's naming scheme: B, A, X, Y, L, R, L2, R2, L3, R3, Select, Start. If autoconfiguration already got this right, and for most mainstream controllers it will have, there's nothing left to do here beyond moving on to hotkeys. If something's off, the Bind All option walks through each button with an on-screen prompt, which is far less tedious than it sounds. Once it's correct, save it: Settings → Input → Port 1 Controls → Save User Remap File writes a global remap that every core loaded afterward will inherit.
Per-core overrides handle the exceptions, cases where a specific system wants its buttons laid out differently from the global default. Load a game in the core that needs adjusting, open the Quick Menu during gameplay, and go to Controls → Save Core Remap File. That mapping applies only while that core is active, leaving the global profile untouched for everything else.
Hotkeys are arguably the single biggest quality-of-life change available here, and the one most new users skip because it isn't strictly required to start playing. Configure them under Settings → Input → Hotkeys. Assign save state, load state, fast forward, and a Quick Menu toggle to physical buttons, and touching the screen mid-game becomes entirely optional. Get this part right, and the payoff described back in the opening section actually arrives: pick up the controller, launch anything in the library, and every button already does what it's supposed to, on every system, without a return trip to the settings menu. Recommended assignments: Menu Toggle to a dedicated button (Select + a face button combo works well), Save.