RetroArch Setup and Core Configuration on Android
A guide to installing emulation cores and configuring RetroArch correctly on Android devices.
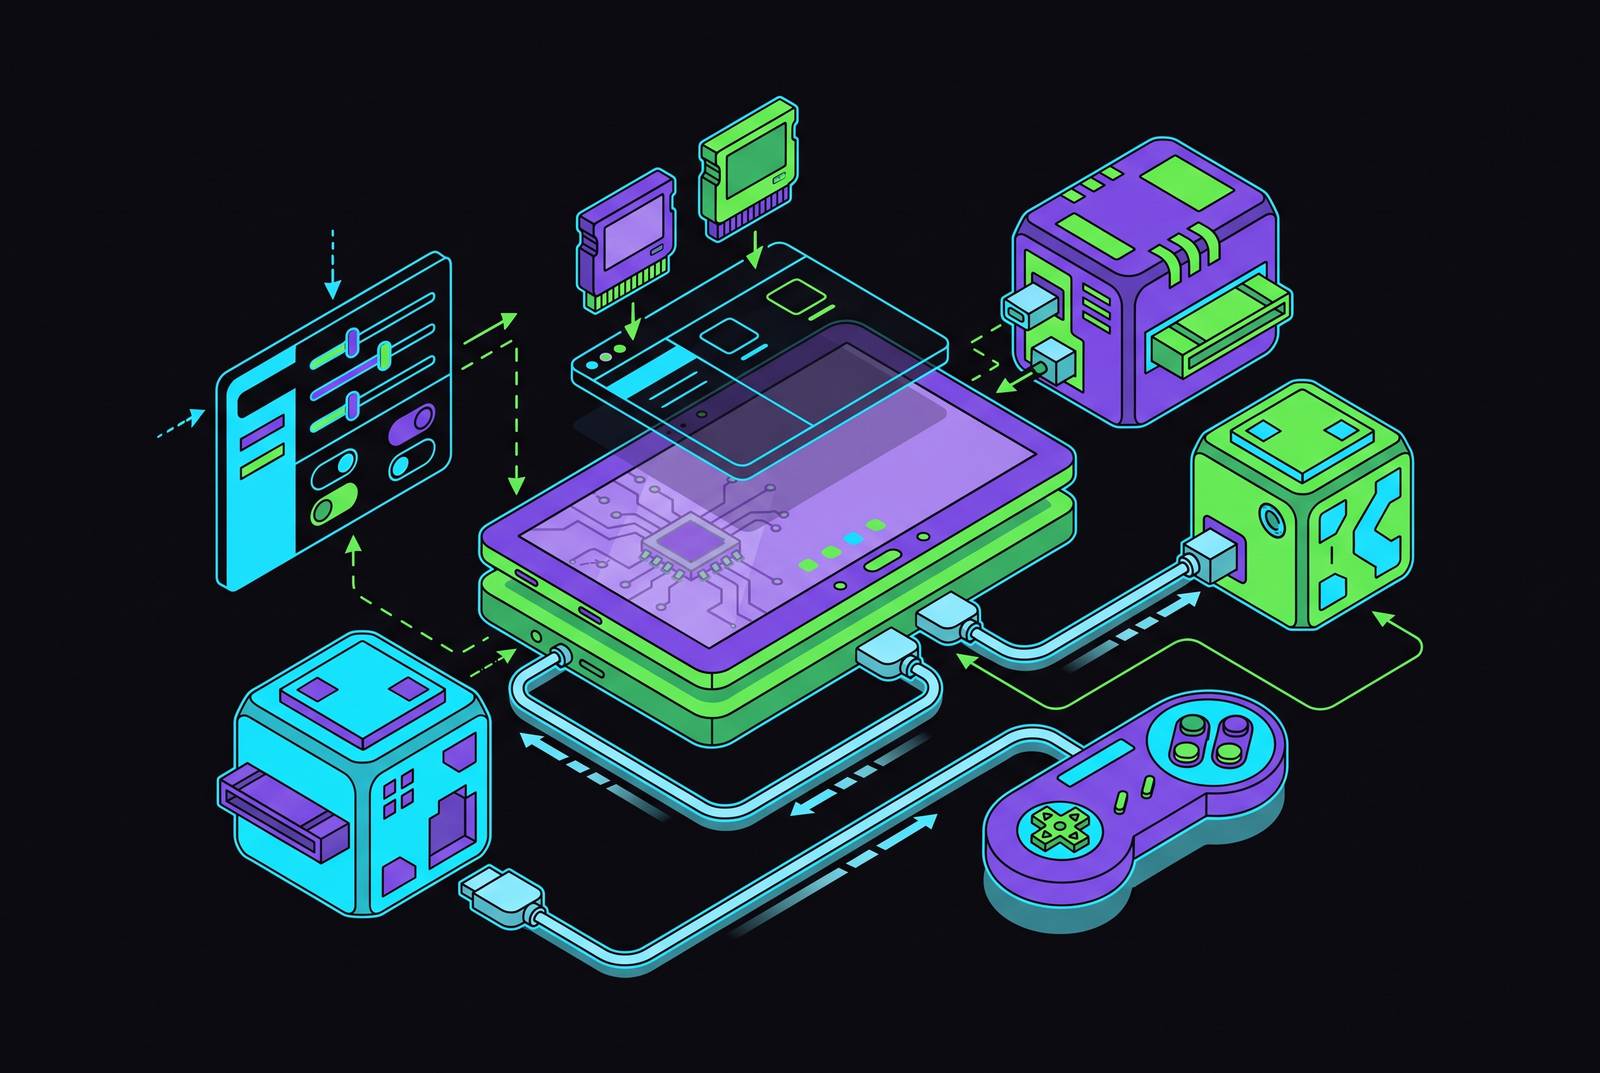
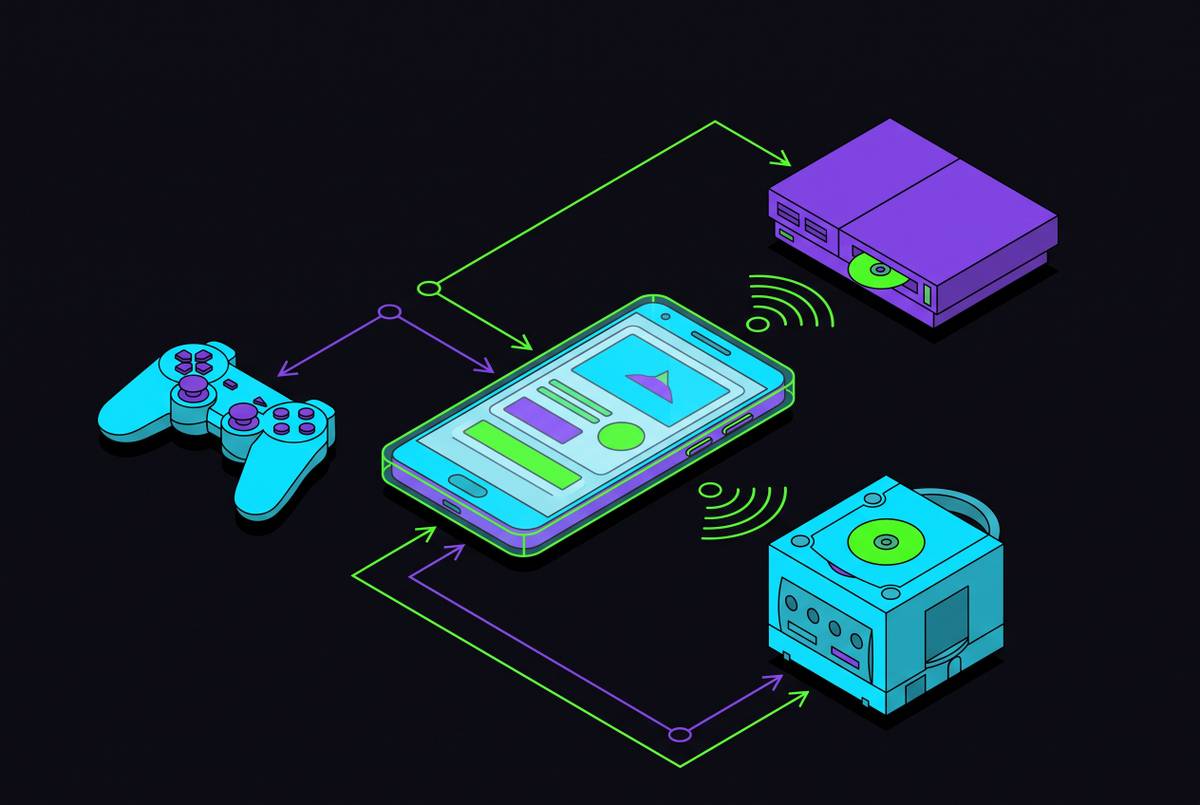
RetroArch on Android is a frontend, not an emulator, and that distinction explains almost every piece of confusion a new user runs into during setup. This piece walks through what the app actually does, how to install and organize it correctly, which cores fit which systems, where the platform hits a hard wall, and how to keep controller settings from vanishing between sessions.
RetroArch on Android
Opening the app for the first time on a fresh Android install is close to anticlimactic, a menu, some settings, and nothing to play, because that blank screen is doing what it is supposed to do: RetroArch ships with no games and no BIOS files at all. It is the player, not the library, and a user who expected a ready-to-run emulator tends to assume the install failed. In practice, RetroArch does nothing playable until a core and the relevant BIOS file are added to it, since the app itself has no emulation logic built in. What it does carry is the libretro API, a stable boundary between the frontend and the core, such that any core that speaks libretro can run inside RetroArch. That boundary is also why a single app can stretch from the Atari 2600 to the original PlayStation without becoming a different program for each system: any core that speaks libretro can be loaded into the same shell. Every section that follows is really about filling in that shell correctly, one layer at a time.
Choosing between RetroArch and RetroArch Plus before downloading anything
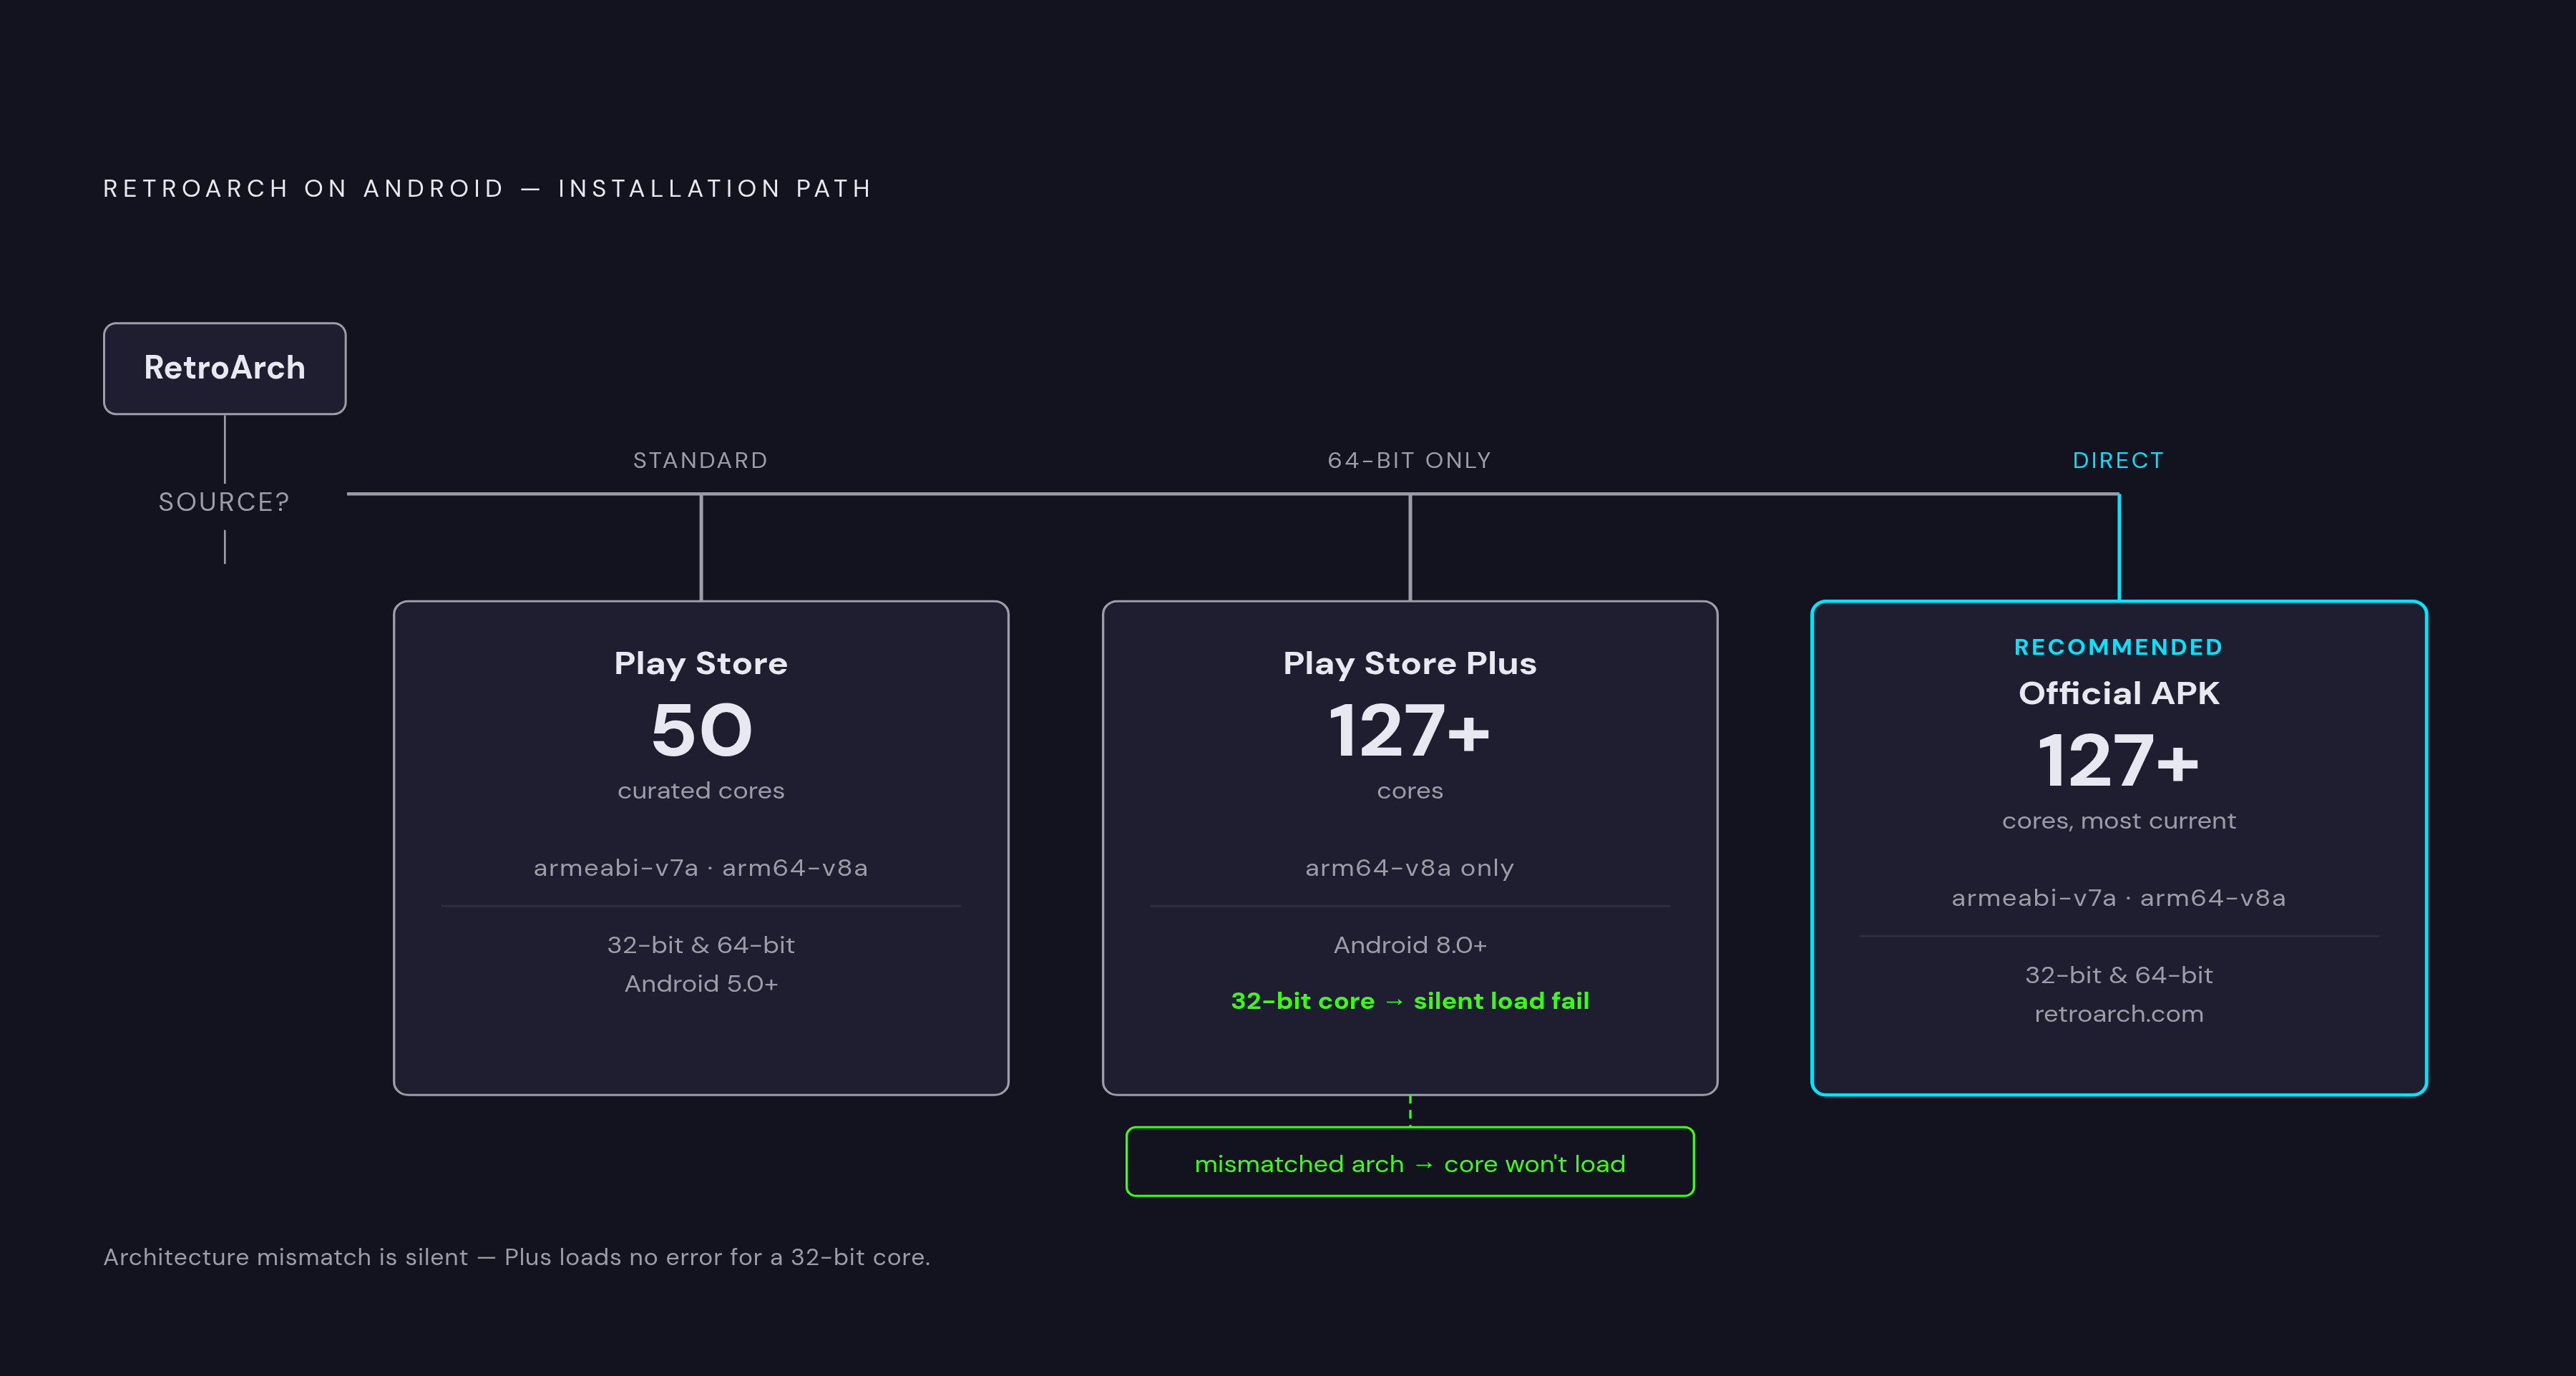
Before a single core gets downloaded, Android users face a branch point that desktop users never see: which build to install. The standard Play Store release includes 50 hand-curated cores, while RetroArch Plus, which requires Android 8.0 or higher, unlocks more than 127. That gap is driven by Google's content policies, which pushed Libretro to maintain the Plus build separately. RetroArch Plus's Google Play listing was refreshed in late August 2026, but the official RetroArch site still flags that same Plus listing as potentially outdated and points users toward downloading the APK directly instead. Both Google Play listings, in fact, carry that caveat: the official download page is positioned as the source for the most complete and current build. Whichever path gets chosen, the current stable release underneath is RetroArch 1.22.2, the version the official buildbot targets when compiling cores. One architectural detail decides whether any of this works smoothly: the RetroArch Plus Play build is 64-bit ARM only, while the standard Play build runs on both 32-bit and 64-bit devices, so a 32-bit armeabi-v7a core dropped into the Plus build will simply refuse to load. Checking a device's CPU architecture before choosing a build, rather than after a core mysteriously fails to appear, saves a genuinely frustrating afternoon.
Creating the folder structure and setting directories before touching anything else
It's tempting to treat folder setup as busywork standing between a user and actual games, but skipping it is the single most common cause of setup failure, ahead of bad cores or corrupt ROM files. The failure almost always traces back to RetroArch looking in the wrong place, not to anything broken in the content itself. The documented setup order runs in a specific sequence: create the ROM, BIOS, save, state, and backup folders first, install RetroArch, run the Online Updater, configure the system/BIOS, save file, save state, and file browser directories, install one core per system, add and verify the required BIOS files, configure and test the controller, build hotkey combinations, and only then launch a single game manually to confirm everything lines up. Keeping everything in shared storage has a practical payoff beyond tidiness: ROMs, BIOS files, saves, and backups all stay reachable from a computer over USB. BIOS files in particular have exactly one correct home, the system directory defined by system_directory in the config, never the cores folder and never sitting next to the ROM itself, because the cores folder holds libraries while the system folder holds firmware. If a folder gets renamed or moved after RetroArch has already been configured, every stored path pointing to it breaks, so the safer move is to record the existing directory shown under RetroArch's Directory settings, test the new path with one game, and only delete the old folder once that test succeeds. Resist the urge to scan an entire multi-system library on the first pass. Testing one or two games per core first makes it far easier to tell whether a problem traces back to the core, the BIOS, the game file itself, the controller, a directory setting, or the playlist. With the directories in place, the next task is filling them with the thing that actually does the emulating: cores.
Installing Cores Through the Online Updater
Cores come in through Main Menu, Load Core, Download a Core, and tapping any entry in that list starts the download immediately, with no limit on installing several cores for the same system side by side. The step that trips people up is a second, easy-to-miss download sitting right alongside the cores themselves: info files. These are small text manifests that tell the frontend each core's full name, which file extensions it supports, and which BIOS it needs, and they live as a separate entry in the Online Updater rather than bundling automatically with the core. Skipping them turns the core list into a wall of cryptic filenames, and content scanning fails to match games to the right system. One more sequencing rule carries real weight here: upgrade the frontend first, then the cores, since installing new cores onto an old frontend produces load failures that upgrading in reverse order will not fix. It also helps to know what the Online Updater is actually showing. The core downloader filters its list to whatever has been compiled for a given device's operating system and CPU architecture, and that list currently runs to well over 100 cores. A core absent from that list on an ARM device is almost always an architecture mismatch, not a setting waiting to be flipped, and no amount of menu-digging will make it appear. With the mechanics of installing any core settled, the remaining question is which core actually belongs on which system.
Choosing a Core for Each System
There is no single best core for a given system on Android, because the right answer depends entirely on how much CPU overhead a device actually has to spare, and reaching for the most accuracy-focused option on mid-range hardware tends to produce stuttering rather than a better picture. Game Boy Advance settles this cleanly: mGBA is the correct choice for casual, single-player play. Game Boy and Game Boy Color share SameBoy as the top pick because it reproduces DMG Game Boy behavior, Game Boy Pocket-style quirks, Super Game Boy features, and Game Boy Color with a focus on the hardware quirks many games quietly depend on, while Gambatte serves as the lighter fallback on lower-end Android devices. SNES is where the accuracy-versus-performance trade-off becomes almost a parable: the cycle-accurate bsnes core wants roughly a 4 GHz single-thread CPU just to hold full speed, which makes it effectively unusable on any handheld, while Snes9x produces a nearly identical picture at a fraction of the CPU cost and stands as the only practical SNES choice on Android. Nintendo 64 is the next system to consider. On strong hardware with Vulkan support, ParaLLEl N64 paired with ParaLLEl-RDP is the preferred combination, while weaker hardware does better switching to Mupen64Plus-Next with GLideN64 running in HLE mode. Sega Genesis and Sega CD point to Genesis Plus GX as the top recommendation, including for Sega CD and Mega CD emulation specifically, with PicoDrive as the fallback when Genesis Plus GX runs slow or choppy, and PicoDrive doubles as the correct core for Sega 32X games regardless of performance. PlayStation 1: use Beetle PSX HW or SwanStation. Sega Saturn emulation runs through Yabause, though it is genuinely performance-demanding, and older or low-end Android devices will struggle to keep up with it. Every system on this list, notably, tops out well before the generation that comes next. MAME - Current most effectively runs arcade games newer than 2003. PlayStation 2 is not on it, and that absence is not an oversight.
Why PlayStation 2 is the one system RetroArch on Android currently cannot handle
PS2 is the clearest example of where Android's RetroArch hits a wall that desktop users do not face, and understanding why helps users avoid chasing a setup that does not yet exist on their platform. LRPS2, a heavily modified hard fork of PCSX2 rebuilt to speak libretro, is one of two PlayStation 2 libretro cores alongside Play!, but it is not available for RetroArch on Android through the usual Online Updater, Core Downloader path. The reason sits at the architecture level: LRPS2 is effectively x86_64-only and wants Vulkan, which excludes Android's ARM builds by architecture, not by policy. Desktop users got a real upgrade here. ParaLLEl GS, the Vulkan low-level Graphics Synthesizer renderer added to the LRPS2 core in RetroArch v1.20.0 in January 2025, brought hardware-accurate rendering and enough raw performance to make PS2 genuinely playable on mid-range PCs, but that improvement lives entirely on desktop RetroArch builds. Android users currently route around the gap through standalone community forks, NetherSX2 and ARMSX2 among them, which sit outside RetroArch entirely and therefore outside its unified configuration layer, controller mapping, and shader system. A GitHub feature request proposing a dedicated ARMSX2 libretro core represents the active community push toward closing that gap, but it remains unresolved as of the sources reviewed for this piece.
Where Cloud Gaming Fills the Gap on Android
For PS2, PS3, and current-generation titles that RetroArch cannot yet run on Android, cloud gaming services offer the practical workaround, and a physical controller remains the prerequisite for either approach to actually feel good to play. GeForce Now, Xbox Cloud Gaming, and PS Remote Play are the three leading mobile options, all supporting iOS and Android alike, and all of them handle the 3D, modern-era titles RetroArch cannot touch on this platform, which makes them a complement to local emulation rather than competition with it. Each one plays a different role: Xbox Cloud Gaming carries the broadest library on mobile, GeForce Now delivers the strongest raw streaming performance, and PS Remote Play is really a bridge to a PlayStation console a user already owns rather than a standalone service. The trade-off against RetroArch is straightforward: RetroArch with local ROMs plays with no internet connection required at all, while cloud services need stable internet and, in most cases, an active subscription. One might argue this gap is permanent, but the hardware trajectory says otherwise. Qualcomm is reportedly weighing legitimate DirectX 12 support for Snapdragon chips, and the Snapdragon chipsets announced at the 2026 Snapdragon Summit are already the company's most powerful mobile silicon to date, both signs that the distance between Android and desktop emulation capability is narrowing rather than fixed. None of that closes the PS2 gap today, but it suggests the wall described in the previous section is a current limitation, not a permanent feature of the platform.
Configuring controllers and hotkeys correctly so settings persist across sessions
Mapping a controller in RetroArch is simple enough to do once, but saving those changes in the wrong place is an easy way to lose them the next time the app opens, which makes understanding where settings get written just as important as making the settings in the first place. The path runs through Settings, Input, Port 1 Binds, where each button gets mapped according to preference, and any additional controllers get their own separate Device Index assignments rather than sharing one. Hotkeys need a modifier button built into the combination, not a bare single-button shortcut, and test the menu hotkey, save state, load state, and Close Content before calling the setup finished. Getting this part right is what turns a one-time configuration session into something durable: a controller mapping and hotkey set that survives being closed, reopened, and handed to a different game entirely, which is really the point of the folder discipline, the core selection, and the info-file habits covered in every section before this one.